
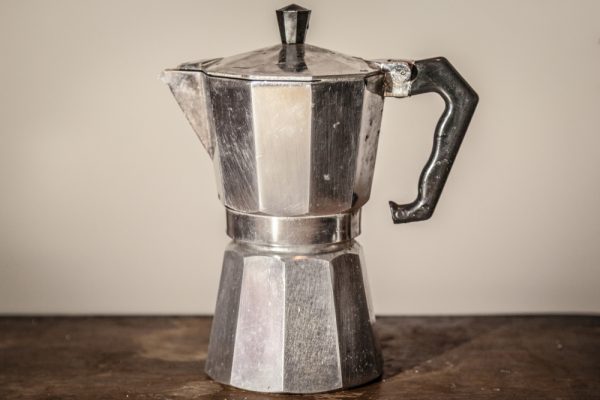
The Moka pot, a simplistic aluminum tool used to brew delicious and bold coffee beverages, was invented in the 1930s. The mastermind behind this unembellished stove-top device was Alfonso Bialetti.
Referred to as a stove-top espresso maker, this tool is straightforward and easy to use. The coffee is brewed by increased pressure that forces hot water through coffee grounds, and the beverage is collected in the uppermost chamber of the Moka pot. One unfortunate and preventable situation you might find yourself faced with as a Moka pot owner is pesky mold growth. Thankfully, it’s easy to get rid of and can be avoided with just a few steps and basic maintenance.
What Does Mold Look Like?
Mold in a Moka pot can look like white residue that has built up over the interior surfaces. This white residue, however, could also be residual oils, corrosion, or mineral deposits. If old coffee has been left in the Moka pot for too long, black, green, and white mold can also appear on any of the interior surfaces, including the bottom chamber, funnel, filter, and top chamber.
Small black spots, most noticeably on the interior surfaces of a Moka pot, can also be an indication of mold. These black spots, however, can also be signs of oxidation. This is a chemical reaction that takes place when the aluminum Moka pot encounters oxygen, altering its surface.
Mold vs. Oxidation
The easiest way to tell if the discoloration you are seeing inside your Moka pot is from mold growth or oxidation is to see if it can be wiped away. Mold will wipe away easily, while oxidation will not. An unpleasant smell will also accompany mold, while it won’t be present with oxidation alone.
Causes & Prevention
There are two main contributors to mold growing in a Moka pot. The first is not washing it thoroughly after every use. The second is leaving old coffee in the appliance. Thankfully this issue can be resolved and prevented in the future.
Being a responsible Moka pot owner involves taking the time to perform daily maintenance, or cleaning after every use. It also involves deeper cleanings, which should be performed monthly.
Daily Cleansing
After disassembling the Moka pot, thoroughly wash out each component, and wipe it dry after every use. This is crucial for the longevity of the tool and for mold prevention. Not only that, but these daily rinses help rid the Moka pot of excess oils and grease that may be present. Wiping the Moka pot dry after these cleanses also helps prevent oxidation.
For traditional aluminum Moka pots, this is done with only hot water. It can’t be placed in a dishwasher and under no circumstances should dish soap be used on this tool. Doing so could not only taint future brews, leaving them distasteful and unpleasant, but it could also chemically and physically alter the surface of the Moka pot.
Deep Cleaning Method 1
The monthly descaling process is slightly more involved but crucial. This is done by running the Moka pot with a water and vinegar solution. To do this, simply fill the water chamber almost full and add 2 tablespoons of vinegar.
Place the Moka pot on the stove and let it brew. Once it has finished running, discard the solution that it produces. To remove any small obstructions in the Moka pot’s filter lid, a soft toothbrush can be gently used. Before using the Moka pot to brew coffee again, it should be rinsed out to rid of any lingering vinegar and fully dried.
Deep Cleaning Method 2
Another way to rid your Moka pot of mold is to first disassemble all the pieces. Fill the bottom and top chambers with boiling water and add 2 tablespoons of lemon juice. When it’s cool enough to handle and the solution has had a chance to sit, gently wipe the surfaces with a soft cloth. Discard the water and give the parts a quick rinse.
If this process didn’t remove all the mold, it can be repeated. Just make sure to use a non-abrasive cloth that will not scratch or damage the surface of the Moka pot. Once all the mold has been washed off, rinse the parts with hot water and dry them thoroughly.
Stainless Steel Moka Pots
Daily cleanings and deep cleanings of stainless steel Moka pots look slightly different when compared to aluminum ones. Stainless steel varieties are also easier to clean, as they don’t react to common household cleaners like aluminum Moka pots.
Stainless steel Moka pots can be washed with hot soapy water to rid of any mold that may have built up. The stainless steel variety is also non-corrosive and dishwasher-safe. If you feel more comfortable cleaning your Moka pot with more sustainable solutions, lemon juice and vinegar can also be used.
Simply place a 50/50 water and vinegar solution into the bottom chamber of the Moka pot. Heat it up as you would when brewing. When the process is complete, discard the contents inside the Moka pot. You should also give it a good rinse when the Moka pot is cool enough to handle to remove any lingering vinegar and to check to make sure all the mold has been removed.
Final Thoughts
Moka pots have been around since the 1930s. Originally created for stove tops, they now come in electric varieties too. Regardless of what style of Moka pot you have, mold growth is a potential problem that should be avoided if possible.
Owning a Moka pot means being responsible enough to keep up with daily cleanses and monthly deep cleanings. Doing this will help prevent the growth of mold. If you find yourself in a moldy situation, thankfully it can be cleaned. Regardless of whether you have an aluminum or stainless steel Moka pot, there are various cleaning methods that can be used when battling mold growth.