
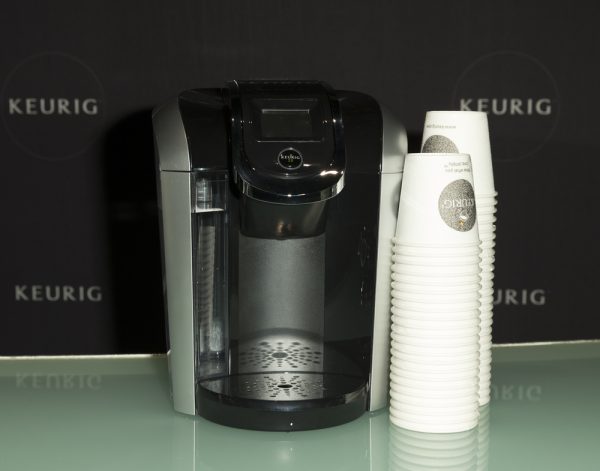
One of the best things about Keurig coffee makers is that they are designed to let you know when something isn’t quite working right. While it’s never fun to attempt to brew that much-anticipated cup of coffee and instead encounter an error message that needs addressing, there’s a good reason for these proactive signals.
That handy descale light that alerts you when your machine needs a good cleaning can be just as annoying as it is helpful. It seems like there’s never a good time for that light to illuminate, but what if it won’t go away even after you’ve descaled your machine? Not to worry, your Keurig might just need a little extra attention or be a bit confused and there are a number of simple ways to get that light turned back off again.
Can I still brew coffee if the descale light is on?
While you should still be able to brew your cup of coffee if the descale light has just turned on, you really shouldn’t ignore it. If you don’t have time to go through the descaling process at the moment, make a mental note to do it later in the day, and definitely before you plan to make your next cup of Joe.
The descale light is a friendly little reminder that your Keurig needs some TLC. If you don’t address it in a timely fashion, you could risk causing damage to your machine or having it stop working altogether. So even though that pesky descale light may seem to pop up at the worst times, heed its advice and give your machine some love!
What does it mean to descale a Keurig?
If your household is anything like mine, your Keurig gets quite the workout. We love our coffee and the convenience of brewing a single cup at a moment’s notice. All this work can wear your machine down a bit.
When cup after cup of water is making its way through your machine, it leaves behind limescale or calcium deposits that can build up and impact the way your Keurig brews. Thankfully these deposits aren’t toxic, but they can have your brewer operating at less-than-peak performance.
Descaling the machine is just what it sounds like–getting rid of those scale deposits. It’s a simple process that should be done as preventative maintenance every 3-6 months to ensure the descale light doesn’t come on in the first place.
How do I descale my brewer?
In reality, it can be hard to keep track of the last time you descaled your Keurig. When that light turns on, I almost always find myself asking, didn’t I just descale this thing?
The descaling process will vary based on which model you have, but Keurig has put together a comprehensive guide on how to descale each of their machines. In a nutshell, it involves running a descaling solution through your machine, followed by a number of water-only cycles to make sure all that scale has gotten loose and made its way out.
What if the light is still on after descaling?
This is the age-old question. You’ve obeyed the light’s suggestion and descaled your Keurig, but the light is still on. Did it not descale enough? Is something else wrong? Let’s troubleshoot…
Repeat the descaling process
It’s very possible that your Keurig is still detecting a disruption to the water flow after you’ve descaled, so it might not have gotten all those deposits out the first time around. Try going through the whole descaling process again to see if the light will go off.
Descale with something stronger
If you’ve descaled again with Keurig’s descaling solution and the problem persists, you can either use white vinegar or citric acid combined with water in its place. These products work great to break down those deposits, especially in tricky areas that can cause the biggest headache for your brewer.
Don’t overpack reusable K-cups
Again, the descale light comes on when your machine can sense that water isn’t flowing normally, so the problem could have nothing to do with scale and more to do with water having trouble getting in and out of the K-cup.
If you use a refillable coffee pod, the issue could be that you’re packing it too tightly with coffee grounds. I like a strong cup of coffee as much as the next person, but overstuffing the pod can cause problems like this. If you suspect this might be the issue, take the K-cup out, start from scratch, and try brewing again.
Thoroughly clean the needle
That needle that punctures the bottom of the K-cup so that delicious coffee can flow from within the pod and into your mug encounters a lot of coffee grounds from day to day. Sometimes these coffee grounds can build up and cause a bit of a clog in your needle, slowing down the water flow.
If all your other efforts to turn off the descale light have been fruitless, give the exit needle a cleaning. This video from Keurig shows how this can easily be done with a paperclip:
Slap and burp your Keurig
I know what you’re thinking… I should do what to my Keurig? Trust me, I thought the same thing, but apparently, it’s a relatively well-known solution to the descale light problem!
You can read more about it here, but it basically involves unplugging your machine, removing any coffee pods, taking off the water reservoir, turning your machine upside down, and hitting (firmly, but gently) the bottom of your machine.
Whether or not this voids your warranty is up for debate. This guide asserts that it shouldn’t, but I wouldn’t be so sure. Keurig’s warranty specifically states that damage caused by “abuse” is not covered. I don’t know about you, but I can see a Keurig customer service representative classifying the slap and burp method as abuse. Keep this in mind if you choose to give this one a try.
Be patient with your descale light
Sometimes the descale light gets a bad rap. When it goes on it usually leads to eye rolls, grunts, and maybe a curse word or two, but remember, the light is just doing its job!
If you descale your Keurig and it still won’t go away, take that as a hint. It doesn’t mean your machine is being finicky, it just means there’s something going on that still needs to be addressed. Just be patient, be good to your machine, and maybe save the slap-and-burp method as a last resort!